
In my previous post, “Converting Text to a Table for a Mail Merge,” I showed you how to transform a list of names and addresses into a Word table in preparation for a mail merge. In this post, I show you how to complete a mail merge to place the names and addresses from that table on envelopes. (If you want to create labels, choose Labels instead of Envelopes in Step 4 and follow the onscreen clues.)
Important: Prior to performing a mail merge using a table or spreadsheet, make sure your table or spreadsheet has a row of bold column headings at the top, like Name, Address, CityStateZip. Don’t use spaces in the column headings. Word uses the column headings to extract information from the table or spreadsheet. Although the column headings are not essential, you’ll find them very helpful in making sure Word extracts the right information and puts it in the right place.
In this example, the city, state, and Zip code are all in one column with a column heading of CityStateZip. If you have a separate column for each, use a separate column heading for each.
- Make sure the document that contains your list of names and addresses is closed.
- Start with a new, blank document.
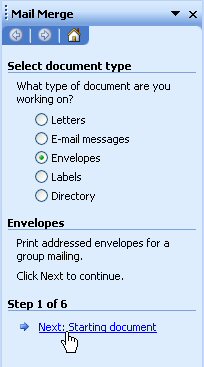
- Enter the Mail Merge command. (In Word 2003, you choose Tools, Letters and Mailings, Mail Merge.) The Mail Merge pane appears, asking you which type of document you want to create.
- Click Envelopes and then click Next: Starting document, near the bottom of the pane.
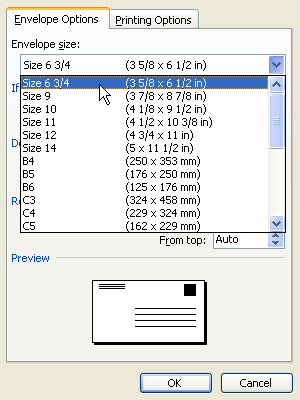
- Under Change document layout, click Envelope options.
- From the Envelope size drop-down list, choose the size of the envelope on which you’ll be printing – usually 6 3/4 for small envelopes or 10 for business envelopes – and then click OK. Word displays an envelop that includes whatever it has stored as your return address. Edit the return address, if necessary.
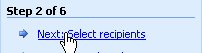
- Click Next: Select recipients.
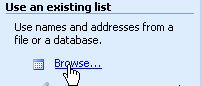
- Under Use an existing list, click Browse. The Select Data Source dialog box appears.
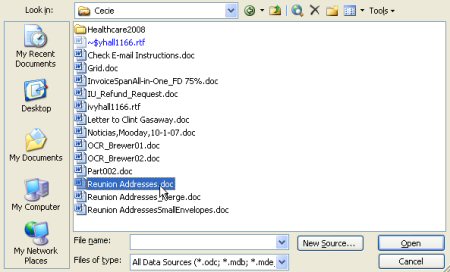
- Navigate to the folder in which your address list table is stored, select the document, and click Open. Word displays the Mail Merge Recipients list.
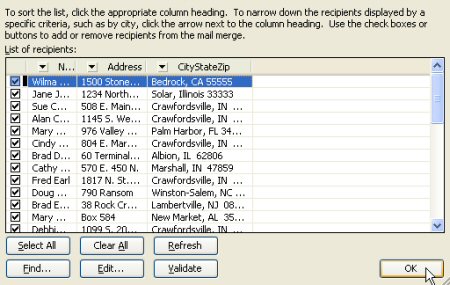
- Review the list of recipients. (You can remove the check mark next to any recipient’s name to exclude them from the mail merge.) Click OK.
- Click Next: Arrange your envelope. At this point, Word wants to know where you want the address placed and how you want the name, address, city, state, and Zip code arranged.
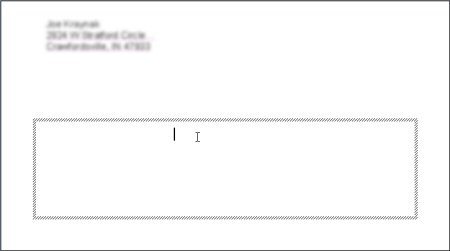
- Click in the middle of the envelope to position the insertion point inside the text box where the address will appear.
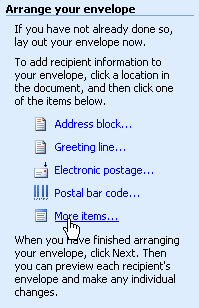
- Under Arrange your envelope, click More items. The Insert Merge Field dialog box appears, displaying the column headings in your table. (Although you could use the Address Block option instead, I avoid doing so, because in my version of Word, I get an annoying space before the person’s name.)
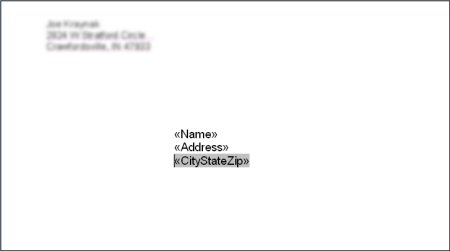
- Double-click each field (column head) you want to include as part of the address. This inserts the fields that will draw entries from your table. When you’re done, click Close.
- Arrange the fields as you want the information to appear on the envelope. In this example, I placed a soft return after each field by pressing Ctrl+Enter, to place each entry on a line of its own. (You could use Enter to insert more space between each item.)
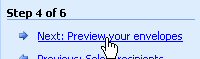
- Click Next: Preview your envelopes. Word displays the first envelope addressed with information from your table.
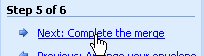
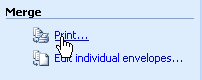
- If everything looks okay, click Next: Complete the merge. If not, then click the Previous option and make adjustments, as necessary.
- Load your envelopes into your printer and click Print.


Sometime in the near future, I’ll be offering a few more tips on the mail merge feature. In the meantime, feel free to post your own tips and tricks or questions about mail merge, and I’ll try to address them as time permits.